The visit starts before the road
Every cenote has its own conditions. Confirming six details and bringing what you need prevents a beautiful photo from becoming the wrong plan.
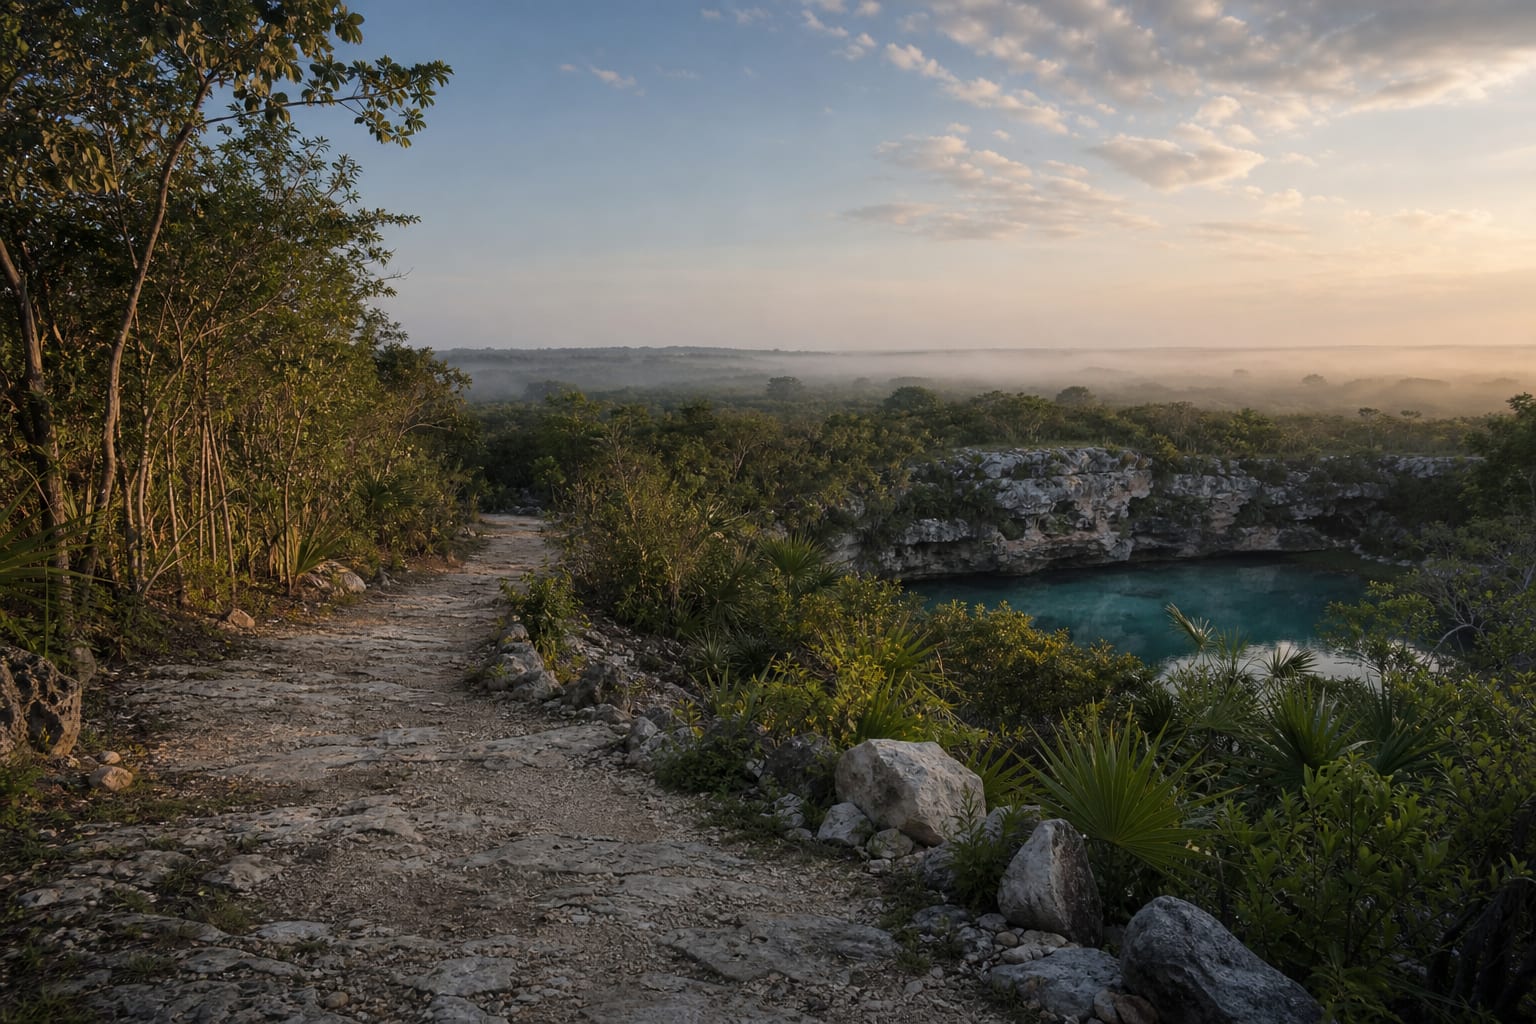
Prepare your visitConcept image. Roads and conditions vary between places.
Published information is a starting point, not a guarantee
Hours, prices, roads and facilities may change with the season, maintenance or local decisions. The more a detail matters to your group, the more important it is to confirm it directly.
Cenote Scout organises available information and shows its verification status, but it does not replace same-day confirmation when one condition determines whether a visit is workable.
- Confirm
- What may change today
- Prepare
- What your group needs
- Leave room
- For roads, waits and weather
Confirm before setting out
details checked
The list resets when the page reloads; we do not store your answers.

Bring what you need. Keep products out of the water.
Worth bringing
- Water in a reusable bottle
- Cash in small notes
- Towel and dry clothes
- Shoes with good grip
- Protection for the outdoor journey
Confirm first
- Whether life jackets are provided
- Whether lockers or changing rooms exist
- Whether cameras or pouches are allowed
- Whether water or food is sold
Clear water does not mean shallow water
Depth, currents, temperature and entry conditions vary between cenotes. If you are not a confident swimmer, ask about shallow areas and wear a life jacket. Do not rely on photos to assess a condition that affects your safety.
- Before
- Ask about depth and rules
- During
- Respect boundaries and signs
- If unsure
- Do not enter without suitable support
The map ends before the road does
Dirt roads, rain, limited signage, a stretch on foot or local transport may add time. Check the listing and confirm final access if travelling without your own vehicle or if your group has mobility needs.
Ask about the route, not a label
“Accessible” can mean different things. Describe what your group needs and ask about every part of the route: parking, entrance, stairs, platform, toilets and exit.
- 01
- How many steps are there, and what are they like?
- 02
- Are there handrails, rest points and firm surfaces?
- 03
- Can someone reach the edge without entering the water?
- 04
- Are the toilets and changing rooms usable by your group?
Four moments for reading the place
- 01
Before setting out
Check recent information and confirm details that can change directly. Download the location if you expect weak signal.
- 02
On arrival
Ask about depth, permitted areas, photography rules and equipment before paying or changing.
- 03
Before entering the water
Look at the access, identify how to get out and wear a life jacket when required or when you need one.
- 04
When leaving
Take all waste with you and tell staff if you notice an unsafe condition or outdated information.